
Before an AutoTuner can read or write an ECU, three things have to be in place: the software must be installed on a suitable laptop, the tool must be linked to your account, and the software must be able to reach AutoTuner’s server. This guide covers how to install the AutoTuner software, link your tool and what happens when you start it. Every fact comes from AutoTuner’s own public help centre and website, linked at the end.
Facts checked on 2 November 2026 on help.autotuner.com and autotuner.com. Requirements and screens change with software updates, so AutoTuner’s current help pages always take priority over this page. Once the software is running, continue with our guides to the OBD read and write and the bench read.
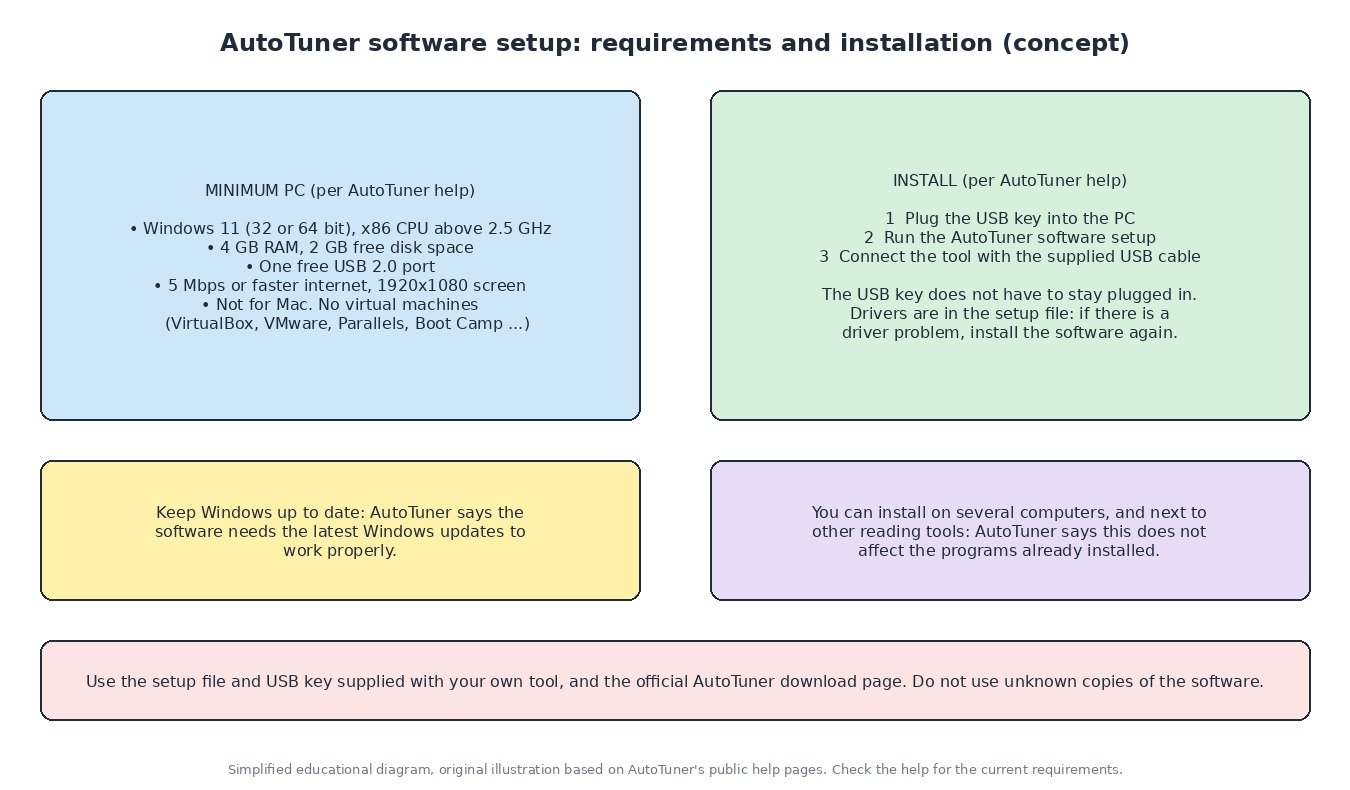
What you need: the laptop
AutoTuner publishes minimum requirements for the computer (source):
- Windows laptop or desktop with an x86 processor (Intel or AMD) faster than 2.5 GHz.
- 4 GB of RAM and at least 2 GB of free disk space.
- Microsoft Windows 11, 32 or 64 bit.
- One free USB 2.0 port.
- A quick internet connection, 5 Mbps or faster.
- A screen resolution of 1920×1080 pixels.
AutoTuner states that the software is not compatible with Mac computers, and that virtual machines are not supported. Its list names VirtualBox, VMware Fusion, VMware Workstation, Parallels, Windows Virtual PC, Boot Camp and Qemu (source). It also says the PC must have the latest Windows updates installed for the software to work properly (source).
Step by step: installing the software
- Plug in the USB key. The USB key supplied in the AutoTuner package contains the software and a link to download it (source). Plug it into the PC.
- Run the installation. Select the AutoTuner software and go through the installer. AutoTuner’s website also offers a setup download page for the same purpose (source).
- Connect the tool. Plug the AutoTuner tool into a USB port of the computer with the USB cable provided (source).
Some practical points from AutoTuner’s help (source, source):
- You do not need to keep the USB key plugged in to use the software.
- You can install the software on several computers.
- Drivers are included in the setup file. If you have a driver problem, AutoTuner’s advice is to install the software again.
- Other reading tools already on the computer are not a problem: installing AutoTuner has no impact on the operation of the software previously installed.
Linking the tool to your account
AutoTuner explains that a new tool arrives activated but not yet linked to an account. With the tool plugged into the USB port, linking takes a few minutes (source):
- Connect the device to the laptop.
- Click “I’m ready – Let’s go”.
- Click “I have already registered”.
- Click “Link my tool”.
- Enter your email address and click “Sign in”.
- Open your mailbox and click the Magic Link. AutoTuner warns that you must open your mailbox in the same browser in which you entered your email address and pressed “Sign in”.
- Click “Confirm link”.
If you do not yet have an AutoTuner account, create one and log in, then link the tool with the same procedure (source). Use the email address you will really use for support and file transfers: AutoTuner points out that transferring a tool to another email address later is a paid warranty and support transfer, even if you own both addresses (source).

What happens when the software starts
AutoTuner has published a description of how its tool, software and server work together. At start-up, the server authenticates the tool and checks whether an update is available for it. Any update is downloaded and installed on the computer and/or the tool with the user’s prior consent. At the end of this first step, the list of compatible vehicles is synchronised with the server (source). When you pick an operation, the software downloads the data needed for it and sends the protocol data to the tool (source). AutoTuner explains that the internet connection also keeps the tool up to date and protects its know-how, which it stores on its servers. (That blog post dates from 2017, so details of the software may have changed since.) In practice, start a job only with a stable connection and a charged laptop.
Useful settings and information
- Tool serial number (ID). Start the software and click the menu button; the serial number is shown there (source). You need it for support and activation requests.
- HQ and LQ mode. In the main menu you can switch from HQ (high quality) to LQ (low quality) mode. LQ disables animations and transitions, which gives a much smoother experience on slower computers (source).
- Activation. For a tool that needs a software activation, AutoTuner’s help describes the request: log in to the AutoTuner website, open Shop, then Official dealers, then Software activation, select the device serial number you want to activate (and mention the Master serial number in case of a Slave), add to cart and check out (source). If you bought the tool from an authorised dealer, ask the dealer first.
- Safety. Read AutoTuner’s use precautions before the first job, and use only the cables and accessories supplied with the tool (source).
Before your first job: a short checklist
- Laptop charged and on its charger, Windows fully updated, all unnecessary programs closed.
- Internet connection stable; the software needs it to start and to run operations.
- Tool visible in the software and linked to your email address.
- Vehicle battery in good condition for an OBD job; see our OBD guide.
- A place to keep the read file and backup; see our guide to the AutoTuner backup file.
Common problems
- The tool is not detected. Try another USB port and the supplied cable, then install the software again if there is a driver problem, as AutoTuner advises (source).
- The Magic Link does not work. Open it in the same browser in which you entered the email address (source).
- The software is slow. Switch to LQ mode and check the minimum requirements (source, source).
- Something fails during a job. Use AutoTuner’s error log export and support ticket process; see the help centre (source).
Need the file done for you?
Once your tool is running and you have an original read, upload it to ECU File Market with the vehicle, ECU hardware and software numbers and the tool you used. Credit prices are on our pricing page, and most files are returned in under one hour during support hours.
Good practice: only work on vehicles you own or are authorised to work on, keep the original file for the life of the car, and keep all emission control systems fitted and working. This guide does not cover removing or disabling DPF, EGR, SCR/AdBlue or any other emission equipment.
Sources (checked 2 November 2026)
- AutoTuner help: Software download & setup: help.autotuner.com/en/articles/2984944-software-download-setup
- AutoTuner help: Parallel installation with other programs: help.autotuner.com/en/articles/2984963-parallel-installation-with-other-programs
- AutoTuner help: How-to link your tool to your account: help.autotuner.com/en/articles/2984967-how-to-link-your-tool-to-your-account
- AutoTuner help: How to activate a Tool: help.autotuner.com/en/articles/9827330-how-to-activate-a-tool
- AutoTuner help: Tool serial number (ID): help.autotuner.com/en/articles/2984991-tool-serial-number-id ; Software LQ/HQ modes: help.autotuner.com/en/articles/5373143-software-lq-hq-modes ; Use precautions: help.autotuner.com/en/articles/2984792-use-precautions ; How-to export error logs file: help.autotuner.com/en/articles/2984939-how-to-export-error-logs-file
- AutoTuner website: Software download and setup: autotuner.com/pages/download
- AutoTuner blog: how the tool works (2017): autotuner.com/blogs/news/autotuner-explains-in-details-how-the-tool-works
AutoTuner is a trademark of its owner. ECU File Market is an independent tuning file service and is not affiliated with, endorsed by or sponsored by AutoTuner. The name is used only to describe compatibility and workflow. Use only genuine, licensed tools and software.